
Correct technique and site selection can make Zepbound easier to use. Choosing appropriate Zepbound injection sites, rotating consistently, and timing weekly doses well can reduce local discomfort and support adherence. This guide translates device instructions into clear, practical steps.
Key Takeaways
- Approved areas: abdomen, thigh, and back of upper arm.
- Rotate sites weekly to lower irritation risk.
- Keep injections subcutaneous (under the skin), not intramuscular.
- Stay consistent with weekly timing and tracking.
- Address reactions early; adjust technique when needed.
Zepbound injection sites: Where and Why
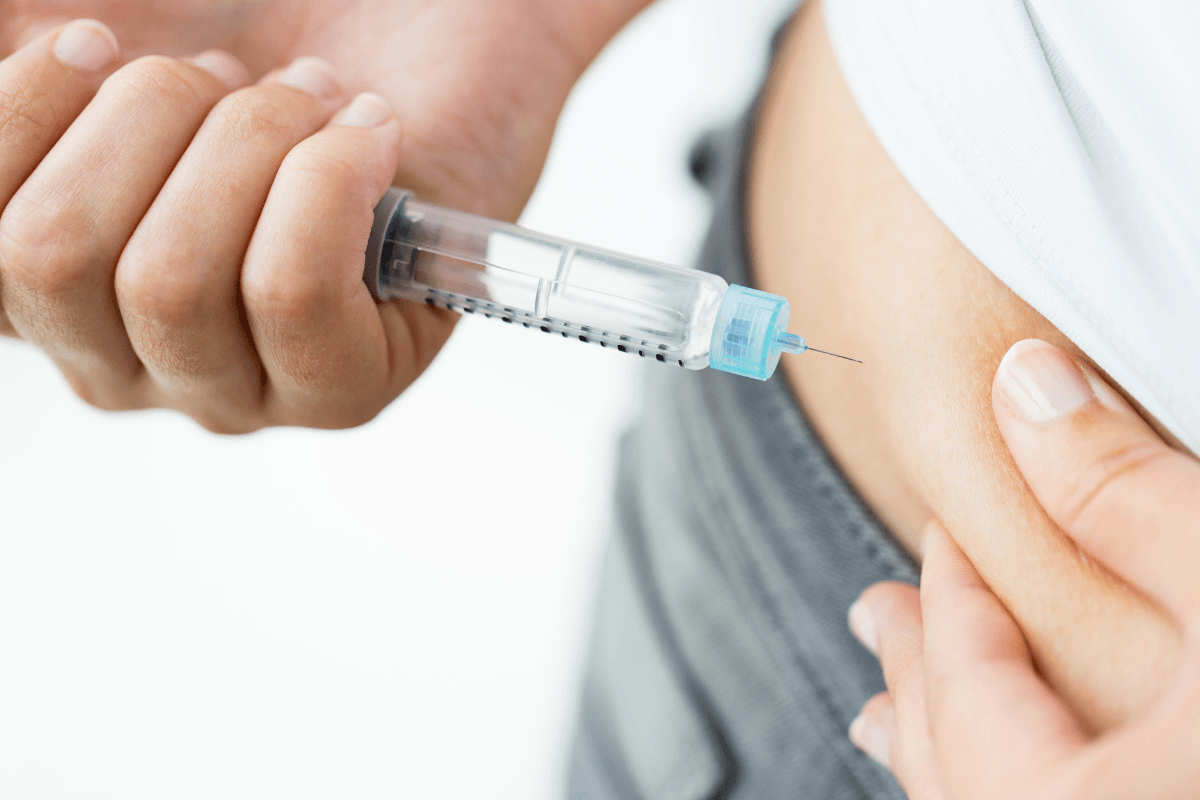
Three subcutaneous (under-the-skin) areas are recommended: abdomen, thigh, and back of the upper arm. The abdomen offers the most surface area and is often easiest for self-injection. Use the fatty tissue at least two inches from the navel. The outer thigh and the posterior upper arm are also suitable if you can comfortably pinch a skinfold.
Rotate among quadrants or regions within each area to avoid repeated trauma. Avoid scars, moles, bruises, lipodystrophy (fat pad changes), and areas that feel firm, tender, or warm. For a comparable GLP-1 injection overview that reinforces these principles, see Wegovy Injection Guide for added context.
For device steps and safety notes, consult the manufacturer’s Instructions for Use and the FDA prescribing information when setting up your routine.
Preparing for Your Injection
Start by washing hands and inspecting the pen and cap for damage. Let a refrigerated pen reach room temperature as specified by the device guide to reduce sting. Clean the skin with an alcohol swab, then let it fully air-dry; injecting through wet alcohol can increase burning.
Have a sharps container ready, and plan a rotation pattern before you inject. Map the abdomen into four quadrants or the thigh into thirds, and move clockwise weekly. If you need refresher details on handling temperatures and light exposure, see Zepbound Storage for storage thresholds and travel times.
How to Inject: Abdomen, Thigh, Upper Arm
Subcutaneous injections should enter fatty tissue at 90 degrees with the auto-injector, unless the device instructions advise otherwise. Pinch up a skinfold if you have minimal subcutaneous tissue, especially on the thigh or arm. Hold steady pressure during delivery, then wait for the indicator to confirm completion before removing.
Each area has small technique differences. The key principles are stable hand positioning, a dry prep site, and remaining still until the device’s timer or window signals that the dose is complete. For needle fundamentals beyond this device, review Insulin Pen Needles for sizes and handling tips.
Abdomen (Stomach)
The abdomen is the most accessible site for many users. Choose a spot at least two inches away from the navel, alternating left and right and moving up and down to avoid clustering injections. Pinch a skinfold if needed to ensure the pen delivers into subcutaneous tissue, especially in leaner individuals. Keep the pen perpendicular to the skin, press firmly per the device guide, and hold until the dose indicator shows completion. Release the skinfold after removing the pen, and avoid rubbing the area, which can increase irritation.
Outer Thigh
Use the mid-outer third of the thigh where you can pinch a skinfold. This site is useful in colder months when the abdomen feels sensitive. Many users alternate thighs week to week to distribute mild soreness.
Back of Upper Arm
The posterior upper arm is appropriate when a caregiver can assist. Self-injection in this site may be difficult without a mirror or help. If you rely on arm injections, rotate between arms and different spots on each arm.
Dose Timing and Rotation Strategy
Pick a consistent weekday and time, then log the site used each week. Consistency supports habit formation and simplifies troubleshooting if you experience local tenderness. If doses are delayed, follow the timing rules in the device guide and label, or contact your care team for individualized advice.
Your clinician may discuss your zepbound dose schedule as part of a gradual titration plan. Rotating sites during dose changes can help you separate injection technique issues from dose-related effects. When trips disrupt your routine, see Travel With Zepbound for packing and time-zone planning that keep weekly dosing on track. For broader comparisons that frame expectations across options, see Wegovy vs Zepbound in case you are evaluating alternatives.
For official timing guidance, refer to the device’s Instructions for Use and the FDA prescribing information before changing routines.
Choosing Sites for Best Weight-Loss Adherence
Comfort and confidence drive consistency. Select locations you can see and reach reliably, and schedule injections when you have a few quiet minutes. Many users prefer the abdomen for control, while others favor the thigh during activity because waistbands or belts may rub the stomach area.
If you wonder where to inject zepbound for best results, focus on technique and rotation rather than a single “best” spot. Target subcutaneous tissue, avoid sensitive areas, and keep each week’s injection in a new location. For nutrition strategies that complement your plan, see Zepbound Diet Plan for meal structure ideas that support adherence.
Managing Local Reactions at the Injection Site
Common local reactions include redness, small welts, mild swelling, or brief stinging. These typically resolve without treatment. Let the alcohol dry fully, rotate sites, and keep the device perpendicular to the skin to reduce irritation. A cool compress for ten minutes can help with tenderness after dosing.
If you experience a zepbound injection sites reaction that worsens, expands, or persists, contact a clinician promptly. Painful, warm, or purulent lesions need medical review to rule out infection or significant inflammation. Document the site, timing, and any new medications or topical products used that day to assist evaluation.
When Side Effects Tend to Start
Gastrointestinal symptoms like nausea, belching, or mild cramping often occur near dose changes or early in therapy. Hydration, smaller meals, and slower eating may help. Some people feel more sensitive on injection day, while others notice effects a day or two later.
If you’re asking when do zepbound side effects start, the timing varies by individual and dose stage. Track symptoms alongside your rotation log so patterns become clear. For fatigue-specific strategies, see Zepbound and Fatigue for simple pacing and nutrition adjustments.
How Long Side Effects May Last
Early treatment effects often settle as your body adapts to therapy and meal changes. Local irritation from a single injection usually fades within a few days. Ongoing or worsening symptoms warrant discussion with a healthcare professional.
Questions like how long do zepbound side effects last don’t have one fixed answer. Duration depends on dose, sensitivity, and comorbid conditions. Track onset, severity, and resolution times in your journal to support informed conversations with your care team.
Headache and Muscle Aches
Some users report headaches or diffuse aches during early weeks or after dose increases. Hydration, regular meals, gentle stretching, and sleep hygiene can help. Consider whether caffeine withdrawal or dehydration is contributing, especially if you changed habits recently.
If you’re concerned and wonder, does zepbound cause headaches, note that headaches have been reported but may have multiple causes. Seek medical advice for persistent, severe, or unusual pain, or any new neurologic symptoms. For broader product context when comparing options, see Zepbound vs Mounjaro to understand class similarities and differences.
Cost and Access Notes
Budget planning supports long-term adherence. Factors include dose strength, dispensing fees, pharmacy contracts, and regional supply. Assistance programs, benefit design, and prior authorization steps may also influence access. Check your plan documents and talk with your prescriber’s office about coverage requirements.
If you’re estimating zepbound cost without insurance, expect variability by pharmacy and location. For current product details and device formats, see the Zepbound product page for key specifications. You can also browse Weight-Management Products to understand related options and formulations.
Insurance and Savings Basics
Coverage depends on your plan’s obesity treatment policies, medical criteria, and formulary tiering. Copays, deductibles, and specialty pharmacy networks can change the monthly out-of-pocket amount. Ask your plan to clarify whether step therapy or prior authorization applies and what documentation is needed.
Manufacturer savings programs and employer benefits may reduce cost with coverage. Pharmacists can explain alternatives if supplies are constrained, and prescribers can help align documentation with plan criteria. When coverage gaps occur, review therapy goals and timing with your clinician before making changes.
Learning Resources and Practical Tools
Short device tutorials from reputable sources can reinforce each step, though the official guide should remain your primary reference. Be cautious with third-party clips; verify steps against the manufacturer’s written instructions before adopting a new technique. If you encounter references to “zepbound vial injection instructions,” note that the product is supplied as prefilled pens; vial guidance may not apply.
Keep a simple injection log with date, time, site, and any symptoms. A weekly reminder on your phone helps maintain cadence. When you need a refresher on site selection principles across GLP-1 therapies, revisit Wegovy Injection Guide for transferable technique considerations.
Tip: If a site feels unusually tender, choose a different area the following week and reassess your prep steps.
Note: Always cross-check technique details with the device’s official Instructions for Use before changing your routine.
This content is for informational purposes only and is not a substitute for professional medical advice.
