
Choosing and using insulin pen needles correctly helps reduce pain and dosing errors. This guide explains parts, sizes, gauge, and technique in clear terms. It also shows how to match needle options to your pen device. We cover safety, disposal, and when a clinician may recommend a change.
You will see the term insulin pen needles early and often. We use both medical terms and plain-language descriptions to keep the guidance clear.
Key Takeaways
- Needle basics: Single-use micro-needles fit most insulin pens.
- Size selection: Short, thin needles suit many body types.
- Technique matters: Priming, angle, and dwell time improve dosing.
- Check compatibility: Match brand, thread, and pen platform.
- Dispose safely: Use a sharps container to prevent injuries.
Insulin Pen Needles: What They Are and How They Work
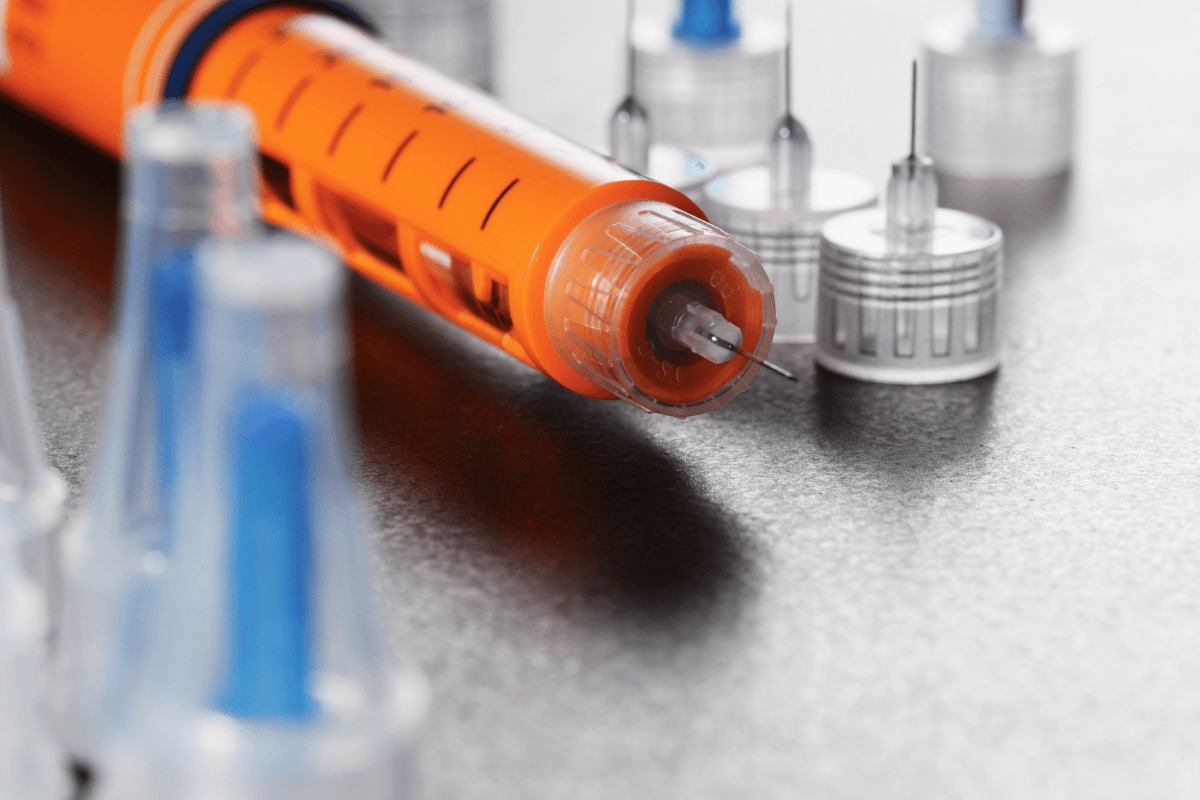
Pen needles are sterile, single-use tips that attach to prefilled or cartridge pens. Each has a plastic hub, an internal seal, and a very fine cannula. The hub screws or clicks onto the pen, creating a pathway for insulin from the cartridge to subcutaneous tissue (fat layer). Most modern designs have lubricated, beveled tips to minimize skin resistance and reduce insertion force.
Manufacturers engineer internal flow paths to maintain dose accuracy at common injection speeds. After use, the tip dulls and can harbor microorganisms, so single-use is advised. For broader injection safety principles beyond diabetes care, see the CDC’s guidance on safe injection practices (CDC injection safety page), which supports using a new needle for each injection.
Understanding Sizes: Lengths and When to Choose Them
Finding the right fit among insulin pen needles sizes helps improve comfort and subcutaneous delivery. Common lengths include 4 mm, 5 mm, 6 mm, and 8 mm. Shorter options can help avoid accidental intramuscular injections, especially in lean areas. Longer options may be considered when using certain techniques or when guided by a clinician after assessing skinfold and body habitus.
Across age groups and body types, shorter needles often perform well when technique is correct. Guidance from diabetes organizations notes that proper site rotation and a consistent 90-degree angle (with or without a skinfold) can improve outcomes. For more on device handling and insulin flow, see our overview of Insulin Cartridges, which explains how cartridges and pens work together.
Gauge and Length Explained: Comfort, Flow, and Technique
Gauge refers to outer diameter, with higher numbers indicating thinner walls. Balancing insulin needle gauge and length is important for comfort and reliability. Thinner needles may reduce insertion pain, while internal design helps maintain insulin flow during a full dose. Length selection should target subcutaneous tissue, considering body area and skinfold thickness.
Technique further influences comfort and absorption. A steady insertion, a primed pen, and holding the needle in place for several seconds after the plunger reaches zero can help. For stepwise instruction, our practical guide How to Use Insulin Pen covers priming, angles, and dwell time with photos and tips.
Using a Chart to Compare Options
It can be helpful to review an insulin pen needle gauge size chart when comparing lengths and thicknesses. A chart outlines common sizes and where they might fit based on technique and site. It does not replace individualized clinical guidance, but it simplifies choices and prompts better questions for your care team.
| Length | Common Gauges | Notes |
|---|---|---|
| 4 mm | 31G–33G | Often suits most adults with 90° angle |
| 5–6 mm | 31G–32G | May use 90° or skinfold in lean sites |
| 8 mm | 30G–31G | Typically requires skinfold or angled entry |
When you choose a size, consider your injection sites and rotation pattern. For safe technique fundamentals, the ADA’s Standards of Care discuss insulin administration practices (ADA Standards resource), including site selection and avoiding intramuscular injections.
Technique and Safety: Priming, Angle, and Dwell Time
Start with a primed pen to confirm flow and remove air. Clean the site with soap and water or an alcohol swab if advised, and let it dry. Insert the needle at 90 degrees into lifted skin if needed. Deliver the dose smoothly, then hold the pen in place for about 10 seconds (or as instructed) to reduce leakage and ensure full delivery.
Rotate sites methodically to prevent lipohypertrophy (fatty lumps) that can alter absorption. Avoid injecting into scars, bruises, or areas with inflammation. For a photo-based walkthrough and troubleshooting, see How to Use Insulin Pen for clear, practical steps. You can also review device specifics in our Diabetes Tech: Pens, Pumps, and CGMs article for broader context across tools.
Comparing Delivery Methods: Pen Devices Versus Syringes
Many people weigh insulin pen vs syringe when starting therapy or switching devices. Pens provide discreet dosing, integrated dose counters, and consistent needles. Syringes offer flexibility with vial-based insulin and fine dose adjustments for certain regimens. Both methods, when used correctly, can deliver accurate doses and support good glycemic control.
If you are deciding between platforms, review your dosing schedule, manual dexterity, and vision needs. Some users value tactile clicks and memory features on pens. For a balanced discussion of advantages and limits, see Insulin Pen vs Syringe, which compares ergonomics, training needs, and maintenance.
Who Benefits Most from Pen Devices?
Clinicians often recommend insulin pens for type 2 diabetes when simplicity and adherence are priorities. Pens can also support children, teens, and older adults who benefit from straightforward operation. Basal pens with once-daily dosing reduce handling steps, while mealtime pens emphasize dose precision and convenience.
Some pens add larger dose windows or memory functions to help track usage. To understand specific features, see Tresiba FlexTouch Pen for basal dosing ergonomics and NovoPen 4 for Diabetes for reusable pen design details. For condition-focused reading, explore Type 2 Diabetes resources that situate pens within broader care plans.
Brands, Compatibility, and Platform Fit
People often ask about bd needles for insulin pen when comparing brands and platform fit. Most pen needles use a universal screw thread that works across many disposable and reusable pens. Still, always verify compatibility on the packaging and your pen’s instructions. Tolerances, cap shapes, and safety shields can vary.
Matching the pen platform to your routine matters. Basal and bolus pens may have different handling needs, and reusable pens require compatible cartridges. For device-specific features and fit, review Tresiba FlexTouch Pen and the reusable pen overview in NovoPen 4 for Diabetes. For broader reading on pen components, see Insulin Cartridges to understand cartridge formats and seals.
Cost, Access, and Safe Disposal
People often compare insulin pen needles price across pharmacies and brands. Costs can vary by pack size, safety-shield features, and gauge-length combinations. Coverage depends on insurance formularies and supplies benefits. Local sharps disposal rules also affect the total cost of ownership, including containers and drop-off options.
Always discard used needles in an approved sharps container, not household trash. Many communities list disposal programs through health departments or waste authorities. The FDA provides guidance on sharps disposal at home (FDA sharps disposal information) to reduce injury risk. For broader learning, see Insulin Storage 101 for temperature guidance and Diabetes Articles for supply management advice.
Recap
Pen needles are small, precise devices that connect your pen to the subcutaneous space. Selecting the right length and gauge supports comfort and consistent dosing. Good technique—priming, steady injection, and a brief hold—helps each dose do its job.
Use charts to compare sizes, confirm brand compatibility, and practice safe disposal every time. If your needs change, discuss options with your clinician and revisit your technique. For deeper dives, explore our device guides and technique articles linked throughout this page.
This content is for informational purposes only and is not a substitute for professional medical advice.
