
Learning how to use insulin pen devices starts with a simple routine: check the insulin, attach a new needle, prime the pen, dial the prescribed dose, inject into fatty tissue, hold, and dispose of the needle safely. This matters because missed priming, poor site rotation, or early needle removal can affect how reliably insulin is delivered.
Insulin pens are used for many basal, rapid-acting, intermediate-acting, and premixed insulin products. Your prescriber or diabetes educator should show you the exact steps for your pen, since buttons, dose windows, and cartridge systems vary by brand.
Key Takeaways
- Use a new needle: Attach one before each injection.
- Prime before dosing: Check that insulin appears at the needle tip.
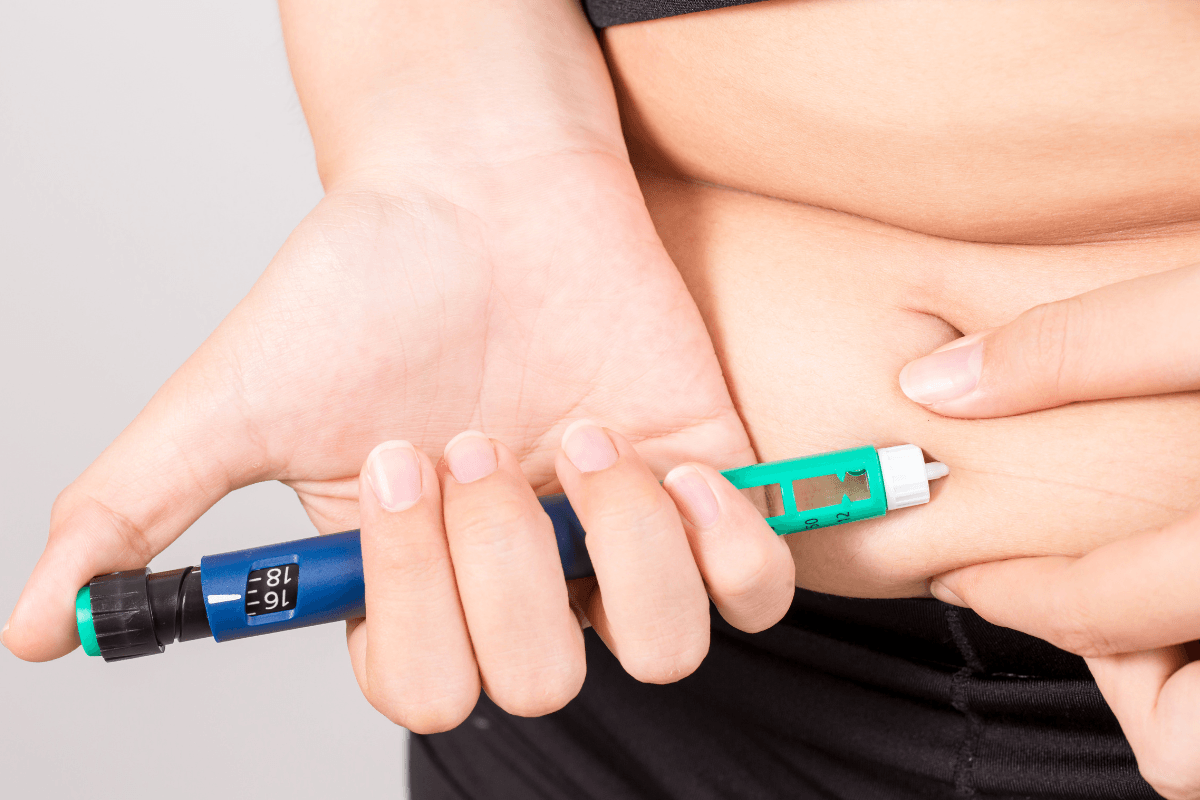
- Inject into fat: Use the abdomen, thigh, buttock, or upper arm.
- Rotate sites: Avoid repeatedly using the same spot.
- Hold after pressing: Keep the needle in place briefly to reduce leakage.
How to Use Insulin Pen Devices Step by Step
The safest way to use an insulin pen is to follow the same sequence every time. A repeatable process lowers the chance of missed steps, especially when you inject at busy times of day.
- Wash and prepare: Wash your hands and place supplies on a clean surface.
- Check the label: Confirm the insulin name, concentration, and expiry date.
- Inspect the insulin: Clear insulin should look clear. Cloudy insulin should match the label instructions.
- Mix if directed: Gently roll or tip cloudy insulin as instructed. Do not shake hard.
- Attach a needle: Remove the paper tab, screw or push the needle on, then remove caps.
- Prime the pen: Dial the priming amount from the pen instructions and press until insulin appears.
- Dial the dose: Set only the number of units prescribed for that injection.
- Choose a site: Use clean skin and avoid bruises, scars, lumps, or irritated areas.
- Insert the needle: Place it straight into the skin, usually at 90 degrees.
- Press and hold: Push the button fully, then keep the needle in place as directed.
- Remove and dispose: Pull the needle straight out and place it in a sharps container.
Quick tip: Keep your pen label facing up before each injection so you can confirm the insulin type.
If you are comparing pen devices with other delivery methods, the Insulin Pen vs Syringe comparison explains practical differences without replacing clinician training.
Before the First Injection: Checks That Prevent Errors
Before the first injection, confirm that the pen, insulin type, needle, and dose match your care plan. This is especially important if you use more than one insulin, such as a long-acting insulin and a mealtime insulin.
Look at the dose window in good light. If you have trouble seeing the number, ask about magnifiers, dose-memory pens, or other supports. Do not guess a dose from pen clicks unless your clinician has specifically trained you to do so.
Cloudy insulin, such as some intermediate-acting or premixed products, may need gentle mixing before use. The goal is an even, milky appearance when the product label says it should be cloudy. If the insulin has clumps, crystals, unusual colour, or has been frozen, do not use it until you have checked the product instructions or spoken with a healthcare professional.
For a broader orientation to device styles, see Insulin Pens. It covers disposable and reusable formats, storage basics, and common use cases.
Where to Inject and How to Rotate Sites
Insulin should be injected into subcutaneous tissue, the fat layer under the skin. Common areas include the abdomen, outer thigh, upper buttock, and back of the upper arm.
Many beginners prefer the abdomen because it is easy to see and reach. If you inject in the stomach area, stay at least two finger-widths away from the navel. Avoid belts, waistbands, scars, moles, bruises, and any firm or lumpy skin.
Rotation means moving each injection to a new spot within the same general region. For example, you might use different points across the abdomen for one type of insulin, rather than switching randomly between the abdomen and thigh. This can help reduce lipohypertrophy, which means thickened or lumpy fatty tissue from repeated injections.
Why it matters: Lumpy injection areas can make insulin absorption less predictable.
A simple rotation plan can help. Picture the injection area as a grid. Move at least a finger-width away from the last spot, and give used spots time to rest. If you notice lumps, dents, pain, or repeated bleeding, ask your care team to check your technique and sites.
Needles, Angles, and Skinfolds
Most adults can use short insulin pen needles, but the right size depends on body build, injection site, comfort, and clinician guidance. Common lengths include 4 mm, 5 mm, and 6 mm, with thin gauges such as 31G to 33G.
Short needles are designed to reach the fatty layer while lowering the risk of injecting into muscle. Many people can insert a short needle straight in at 90 degrees without pinching the skin. A skinfold may be useful for very lean areas, children, or longer needles, but your diabetes educator should confirm the best technique for you.
Do not reuse pen needles. Reuse can dull the tip, increase discomfort, and raise the chance of bending or blockage. It can also allow insulin to leak or air to enter the system. After each injection, remove the needle from the pen and place it in an approved sharps container.
If you want more detail about length, gauge, and fit, the Insulin Pen Needles resource explains common needle sizes and selection factors.
Priming, Air Bubbles, and Dose Delivery
Priming checks that the pen and needle are ready to deliver insulin. It clears air from the needle path and confirms insulin can flow before you dial the full dose.
To prime, dial the amount listed in your pen instructions, point the needle upward, and press the injection button. You should see insulin at the needle tip. If you do not, repeat the priming step according to the device instructions. If flow still does not appear, replace the needle and check the pen.
Small air bubbles can occur in cartridges or pen reservoirs. They are usually managed by correct priming. Do not try to remove bubbles by unsafe methods, and do not use a pen that appears cracked, leaking, blocked, or damaged.
After pressing the injection button, keep the needle in the skin for the time listed in the pen instructions. Many pen instructions advise a short hold, often several seconds, so the full dose can leave the device. If insulin drips from the needle or appears on the skin, mention this during your next diabetes education visit.
Common Mistakes With Insulin Pens
Most insulin pen errors come from skipped setup steps or rushed technique. New users can reduce risk by slowing down and using a short checklist until the routine feels familiar.
- Skipping the prime: This can affect dose delivery.
- Leaving needles attached: This may cause leaks or air entry.
- Reusing needles: Dull or bent tips can hurt.
- Injecting into lumps: Absorption may become less predictable.
- Pulling out too soon: Insulin can leak from the site.
- Mixing up pens: Similar-looking pens can lead to wrong-insulin errors.
If you are learning how to give insulin injection with pen devices for the first time, consider practicing the sequence with your diabetes educator using a demonstration device. Do not practice with real insulin unless instructed.
Some insulin pens have brand-specific steps. For example, reusable systems may require cartridge loading, while disposable pens are discarded after their labeled use period or when empty. If you use a specific device, such as a KwikPen-style product, the Humulin KwikPen resource offers a device-focused example of safety checks.
Storage, Travel, and Sharps Disposal
Insulin storage rules depend on the product label. Unopened pens are often refrigerated, while many in-use pens may be kept at room temperature for a limited labeled period. Avoid freezing, direct heat, and sunlight.
Cold insulin can feel more uncomfortable when injected. If your product can be kept at room temperature after opening, follow the label and record the date you first used it. Do not store a pen with the needle attached, because this can cause leakage or air movement.
When travelling, keep insulin with you rather than in checked luggage when possible. Bring extra needles, a sharps plan, and documentation if your airline or border process requires it. People using prescription devices should also keep labels and prescriptions accessible.
Used needles belong in a sharps container. Do not place loose needles into household trash or recycling. Local pharmacy, municipal, or clinic programs may provide disposal instructions. Rules vary by location.
CanadianInsulin.com functions as a prescription referral platform, and prescription details may need confirmation with the prescriber where required. Dispensing and fulfilment are handled by licensed third-party pharmacies where permitted, so product-specific storage and labeling should still be checked on the item you receive.
When to Ask for Help or Review Technique
Ask for help if the pen jams, the dose button will not move, insulin leaks repeatedly, or the device looks damaged. Use backup supplies only if your care plan includes them, and contact your care team for instructions.
Also seek guidance if injections become very painful, you keep seeing bleeding, or you notice hard lumps under the skin. These problems can often be improved by reviewing site choice, needle length, angle, and rotation.
Get urgent medical help for severe low blood sugar symptoms, confusion, fainting, seizures, or signs of a serious allergic reaction, such as swelling of the face or trouble breathing. If glucose readings are repeatedly very high or very low, do not change insulin doses on your own unless your clinician has given you a written adjustment plan.
For general diabetes topics and related device education, browse the Diabetes Articles collection. For condition-based browsing, the Diabetes hub groups related product categories and options in one place.
How Pens Fit With Other Diabetes Treatments
Insulin pens are one way to deliver insulin; they are not a replacement for the rest of a diabetes care plan. Some people use insulin alone, while others use it with non-insulin medicines, nutrition changes, glucose monitoring, or activity plans.
Metformin and insulin have different roles. Metformin is an oral medicine used for many people with type 2 diabetes, while insulin replaces or supplements the body’s insulin supply. Which option is appropriate depends on the type of diabetes, glucose patterns, kidney function, pregnancy status, other conditions, and the prescriber’s assessment.
If you are comparing formats for ongoing therapy, the Diabetes Product Category page can help you browse insulin and diabetes-related product formats. Keep treatment decisions with your clinician, especially when changing devices or insulin types.
Authoritative Sources
For general information about insulin delivery methods, see the CDC diabetes treatment information.
For educator-focused device basics, review the ADCES insulin pen overview.
For Canadian patient instructions on pen use, see MyHealth Alberta insulin pen guidance.
Recap
Safe pen use follows a predictable routine: inspect, attach, prime, dial, inject, hold, remove, and dispose. Rotate injection sites, use a new needle each time, and ask for technique review if injections become painful or unreliable. How to use insulin pen devices well is a skill, and it becomes easier with supervised practice.
This content is for informational purposes only and is not a substitute for professional medical advice.
