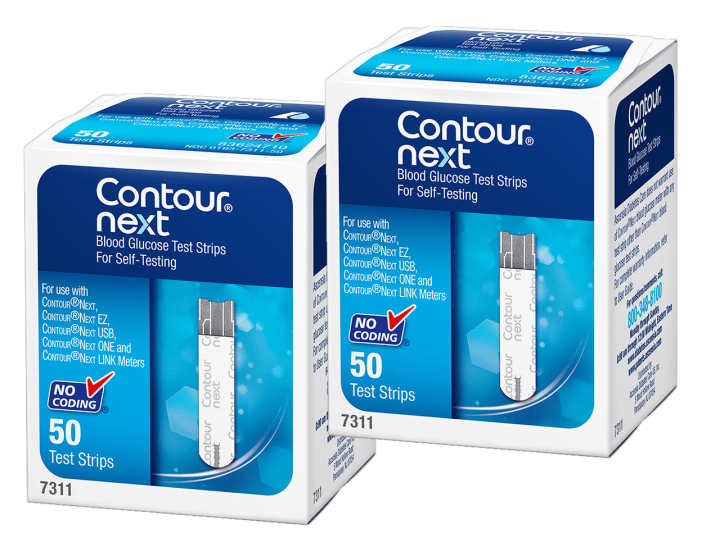
What is Bayer Contour Blood Glucose Meter?
The Bayer Contour Blood Glucose Meter helps people with type 1 or type 2 diabetes test their blood sugar levels. This meter assists in improving diabetes control and providing faster blood glucose test results. The Contour has been proven accurate in its functions and now has newer meters in the form of Contour XT and the Contour NEXT.
What are the features available in the Bayer Contour Next or XT Meter? Consider the following:
- It helps manage diabetes because of the personalized hi/lo target range and the availability of the summary of an individual’s blood sugar test result.
- It has no coding technology. It means that reading the results is easier in just a few seconds. This feature also eliminates the error because of user miscoding.
- The testing time is faster compared to the traditional way of blood sugar testing.
- It offers second-chance sampling. This feature allows an individual to apply more blood to the test strip within 20 seconds of testing. This also prevents test strips from being wasted.
- This self-testing device is easily accessed. The instructions are also easy to follow and more straightforward.
- It is compatible with the full range of Contour Next Blood Glucose test strips.
- The meter turns on automatically when the test strips are inserted.
- It features pre/post-meal test markers. This will help for better glucose analysis.
- Its bottle design will keep the strips fresh even up to 6 months after opening.
How to use Bayer Contour Meter?
In this kit, you will find the following:
- Contour Next Blood Glucose Meter
- 20 Contour Next Blood Glucose Test Strips
- User Guide and Quick Reference Guide
- Lancing Device
- 10 Colored Lancets
- Logbook and Carrying Case
- Warranty Card
Here are the steps on how to use this blood glucose meter:
- Wash your hands first before using the meter.
- Turn the meter on and choose the language you want to use.
- Set the time and date on the meter.
- Setup your target blood sugar range goals. Preset targets are also available.
- Prepare the lancing device and the strips.
- Install the lancet on the lancing device.
- Take the cap from the lancing device and insert the lancet.
- After inserting, twist the top of the lancet to expose the needle.
- Return back the cap and adjust the depth.
- Put the test strip on the meter. The meter will automatically turn on.
- By using the lancing device, poke your finger on one side and allow blood to come out.
- Take the blood sample using the inserted test strip.
- Your test results should appear in just a few seconds.
- Log your test result.
- Remove the test strip and turn the meter off.
- An ejection button is available in the lancet device to remove the lancet without harming your skin.
Takeaway
If you are a first-time user of this blood glucose meter, you can ask your healthcare professional to do the initial test. Observe how the process is done, so you will find it easy when doing the testing at home. Furthermore, always refer to the guide provided with the product to ensure your self-test is successful.


