
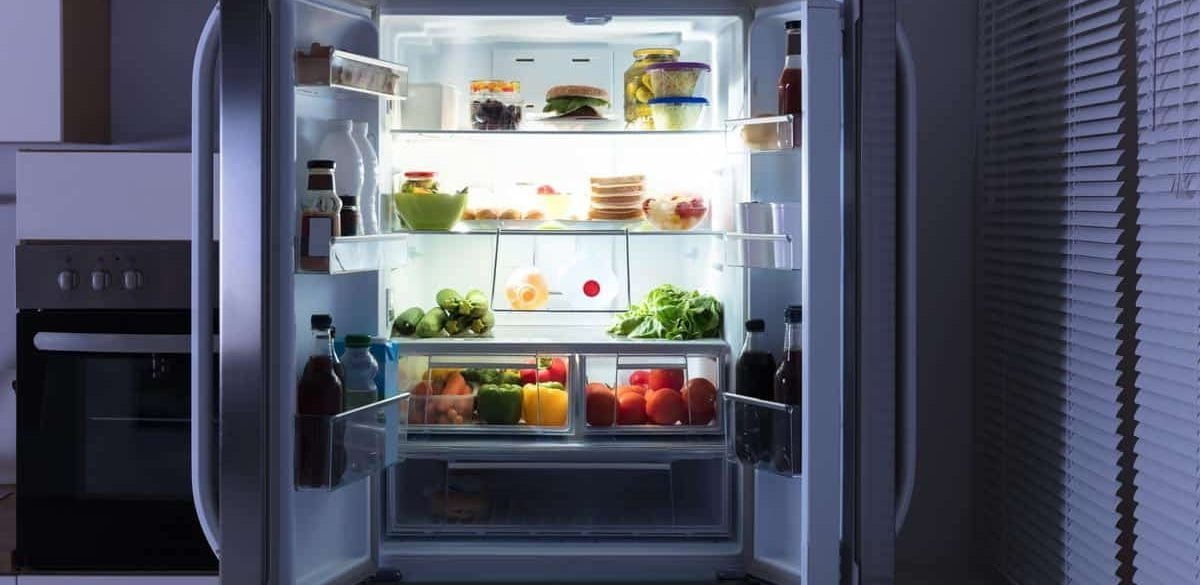
Insulin should usually be stored cold before first use, then kept within the product’s labeled room-temperature limit after opening. The usual insulin storage temperature for unopened supplies is 2°C to 8°C (36°F to 46°F), but in-use time limits differ by brand, device, and formulation. Getting this right helps protect potency and reduces the risk of unexplained high glucose from weakened insulin.
Key Takeaways
- Unopened insulin: Store refrigerated, not frozen.
- Opened insulin: Follow the product-specific in-use timeline.
- Room exposure: Judge by temperature, time, and appearance.
- Travel storage: Use carry-on bags and freeze-safe cooling.
- When uncertain: Replace questionable insulin when possible.
Insulin Storage Temperature Basics
Insulin is a protein-based medicine, so heat and freezing can change its structure. If insulin is exposed to temperatures outside the labeled range, it may lose strength before it looks obviously different. This matters because reduced potency can lead to higher glucose readings even when your technique and dose timing have not changed.
Most unopened insulin products are labeled for refrigerator storage at 2°C to 8°C (36°F to 46°F). Do not place insulin against a freezer wall, cooling vent, or frozen gel pack. Freezing can damage insulin irreversibly, even if the vial or pen later thaws.
Once a vial, cartridge, or pen is opened or kept at room conditions, a separate in-use clock usually begins. That clock may be 10, 14, 28, 42, or more days depending on the exact product. Always use the package insert for the insulin in your hand, not a rule remembered from another brand.
For a broader home-storage refresher, see Insulin Storage 101. It can help you build a daily routine around fridge placement, light protection, and safe handling.
Refrigerated, Room Temperature, and Opened Insulin
Refrigeration protects unopened insulin until the printed expiration date, if the product stays within its labeled range. A household fridge can still run too cold in some areas. Store insulin on a middle shelf, away from the door, freezer compartment, and back wall.
Room-temperature storage is different. Many in-use products may be kept at room temperature for a limited number of days, but “room temperature” still has a ceiling. Some labels cap room storage at 25°C (77°F), while others allow up to 30°C (86°F). Check the product insert for the exact maximum and discard date.
Insulin storage after opening also depends on the device. A vial may have one in-use period, while a matching pen or cartridge may have another. Pump reservoirs and infusion sets often have shorter limits because insulin sits closer to body heat and device heat.
Quick tip: Write the first-use date on the carton, vial label, or pen cap with a marker.
If you use a rapid-acting insulin, brand-specific rules can be especially important. For example, Humalog Storage Temperature reviews label-based storage points for that product. If you use other pen devices, Novolog FlexPen Storage and Levemir FlexPen Storage provide device-focused context.
How Long Can Insulin Be Unrefrigerated?
Unrefrigerated insulin may remain usable only if it stays within the product’s labeled temperature and time limits. There is no single safe number for every insulin. The answer changes with the insulin type, whether it is opened, the highest temperature reached, and how long the exposure lasted.
If unopened insulin was left out briefly at a moderate indoor temperature, it may still be within label conditions for some products. If it was left in a hot car, near a heater, or in direct sun, the risk is higher. Heat exposure can shorten the usable life even when the printed expiration date has not passed.
Two hours out of the fridge
Insulin left out of the fridge for 2 hours at normal indoor temperature is often less concerning than longer or hotter exposure. Still, check the label range and inspect the product. If the insulin was near heat, sunlight, or a freezing surface, treat the event more cautiously.
12 hours or overnight
Insulin left out for 12 hours needs a closer review. Note the room temperature, whether the insulin was unopened or in use, and whether it was exposed to sunlight. A cool bedroom is different from a summer kitchen or car interior.
24 hours or longer
Insulin left out of the fridge for 24 hours may still fall within some in-use room-temperature allowances, but this depends on the product. Unopened insulin that was meant to remain refrigerated may have different label instructions after a room-temperature excursion. If the temperature was high or unknown, ask a pharmacist or prescriber before relying on it.
Some people ask about a “3-hour rule.” This is not a universal insulin rule across all products. Some pump or infusion-set instructions have shorter replacement windows, and some emergency guidance uses practical time thresholds. For medication safety, your product label is the controlling reference.
How to Store Insulin Without Refrigeration
Insulin can sometimes be stored without refrigeration during travel, power outages, or daily carry, but it still needs protection from heat and freezing. The goal is stable, label-appropriate temperature control, not simply keeping it “cool.”
Use an insulated medicine pouch or cooling wallet when you cannot rely on a fridge. Keep insulin away from direct contact with ice packs, frozen gel packs, and dry ice. If a cooling pack is frozen solid, wrap it so it cannot touch the vial, cartridge, or pen.
During a power outage, keep the refrigerator door closed as much as possible. Move insulin to a cooler only if you can prevent freezing. A small thermometer helps you avoid guessing, especially during hot weather or long outages.
- Use a thermometer: Track the actual storage range.
- Avoid direct ice: Prevent freezing damage.
- Block sunlight: Keep insulin in its box.
- Choose shade: Never store insulin in a parked car.
- Separate backups: Do not keep every supply in one bag.
If heat is a recurring concern, review practical summer planning in Diabetes Heat Safety. For physical vial protection during transport, a Vial Safe Insulin Protector may help reduce breakage risk, though it does not replace temperature control.
Travel, Airports, and Daily Carry
Travel planning should start before the day you leave. Keep insulin in your carry-on bag, not checked luggage. Cargo holds can become too cold, and checked bags may be delayed or lost.
Pack more supplies than you expect to need, including needles, pump supplies, alcohol swabs, glucose monitoring items, and a sharps plan. Split backups between bags when possible. Keep prescriptions, pharmacy labels, or a clinician letter available for airport screening.
At security, insulin and diabetes supplies are commonly screened as medical items. Keep them organized and easy to remove. Do not place insulin directly beside frozen packs unless the pack is designed to maintain a medicine-safe range without freezing.
Daily carry creates smaller risks. A pen in a backpack may be fine indoors but unsafe in a hot car or sunny window. If your routine includes long commutes, outdoor work, or sports, build a habit of checking where the insulin sits during the warmest part of the day.
Why it matters: The highest temperature reached often matters more than the average temperature.
Signs Insulin May Be Damaged
Damaged insulin may look normal, so visual checks cannot prove potency. They can still help you spot obvious problems. Inspect insulin before use, especially after travel, heat exposure, freezing risk, or an unknown storage event.
Clear insulins should usually remain clear, colorless, and free of particles. Cloudy formulations, such as NPH or some premixed insulins, should resuspend evenly after gentle rolling if the label instructs mixing. Persistent clumps, crystals, threads, discoloration, or floating particles are warning signs.
Glucose patterns can also provide clues. Unexpected high readings after correct use may suggest weakened insulin, infusion-set issues, illness, missed doses, food changes, or other factors. Do not change prescribed dosing on your own because of a storage concern. Contact a healthcare professional if readings remain high, ketones are present, or you feel unwell.
If you must discard insulin, also handle needles and sharps safely. Keep used needles in an approved sharps container or follow local disposal instructions.
Brand and Device Differences That Matter
Insulin storage temperature rules are not interchangeable between brands or devices. A vial, disposable pen, cartridge, and pump reservoir can each have different instructions. Even products in the same insulin class may use different in-use periods or maximum room temperatures.
Before you travel or open a new box, check four label details. First, confirm the refrigerated range for unopened supplies. Second, identify the room-temperature maximum. Third, write down the number of days allowed after opening or first use. Fourth, confirm whether the product should or should not be refrigerated after opening.
Some pens are intended to be kept at room temperature once in use. This can make injections more comfortable and help avoid condensation inside the device, but the exact instruction still depends on the label. Do not return a pen to the fridge unless the product information says that is acceptable.
People using pumps should also review reservoir and infusion-set instructions. Insulin in a pump may face body heat, sunlight, and device warmth. Replace reservoirs and sets according to the device and insulin instructions, and ask your diabetes care team about persistent unexplained highs.
Practical Temperature Reference
Many insulin labels list both Celsius and Fahrenheit, but travel thermometers may show only one scale. The key refrigerated range is 2°C to 8°C, which equals 36°F to 46°F. Room-temperature caps often appear near 25°C or 30°C, depending on the insulin.
| Situation | What to check | Why it matters |
|---|---|---|
| Unopened supply | 2°C to 8°C refrigerator range | Helps preserve potency until the printed expiration date |
| Opened vial or pen | Label-specific days and room maximum | Starts the in-use expiration clock |
| Travel pouch | No direct frozen contact | Prevents freeze damage during cooling |
| Heat exposure | Peak temperature and duration | Higher heat can shorten usable life |
| Unknown excursion | Appearance and glucose pattern | Supports a pharmacist or clinician review |
This table is a decision aid, not a replacement for the package insert. If your insulin label gives a different instruction, follow that product-specific information.
Authoritative Sources
The FDA insulin storage guidance explains general refrigeration ranges and emergency handling considerations for insulin products.
The American Diabetes Association provides a patient handout on safe storage of insulin, including refrigerator ranges and cautions about freezing.
A Cochrane review on temperature and storage conditions summarizes evidence on human insulin stability under varied storage conditions.
Planning Your Next Step
Good insulin storage is mostly about routine. Keep unopened supplies refrigerated, label opened items with a discard date, protect insulin from heat and freezing, and review the insert before travel. If a storage mistake happens, write down the time, temperature, and visible changes before asking a pharmacist or clinician for guidance.
When the insulin storage temperature is unknown, safety depends on context. A brief indoor exposure is different from a hot car or frozen cooler. If you cannot confirm the product stayed within its limits, replacing it is often safer than relying on insulin that may have lost potency.
This content is for informational purposes only and is not a substitute for professional medical advice.

