
If you need to know how to use OneTouch Delica Plus lancing device, the sequence is straightforward: insert a fresh compatible lancet, set the depth, lance the side of a clean fingertip, collect the blood drop, then remove the used lancet safely. Those details matter because small technique errors can lead to sore fingers, too little blood, or repeat testing.
The lancing device creates the fingerstick. Your glucose meter and test strip read the result. Once you understand the setup, depth dial, and cleanup steps, routine blood sugar checks usually become more consistent and less frustrating.
Key Takeaways
- Use a new sterile lancet for every fingerstick.
- Lower depth settings are shallower; higher settings go deeper.
- Lance the side of the fingertip, not the center.
- Warm, clean, dry hands often improve the blood drop.
- Do not share a lancing device or reuse a used lancet.
Why it matters: Better technique can reduce pain and repeat fingersticks.
What This Device Does
A lancing device is a spring-loaded tool that creates a capillary blood sample, or a small drop from a fingertip. It does not read glucose on its own. The meter and strip do that. Knowing the difference helps when a reading problem is really a strip or sample issue, not a problem with the lancing device itself.
The goal is not the deepest puncture or the biggest drop. The goal is a usable sample with the least discomfort practical. That is why a fresh lancet, correct depth, and good finger placement matter more than force.
How to Use OneTouch Delica Plus Lancing Device
The basic method is the same each time, and consistency helps. Before you start, wash your hands with soap and water, then dry them fully. If you use alcohol, let it dry before testing. Gather your meter, strip, lancing device, a fresh lancet, and a sharps container.
A lancing device is only one part of checking blood sugar. If you want broader background on daily monitoring, the Diabetes Hub covers common testing and care topics.
Set Up the Device
- Remove the cap from the device.
- Insert a new sterile lancet as directed by the product labeling.
- Remove any protective lancet cover if the lancet design uses one.
- Replace the cap securely.
- Choose a starting depth setting on the dial.
- Ready or cock the device if your model requires that step.
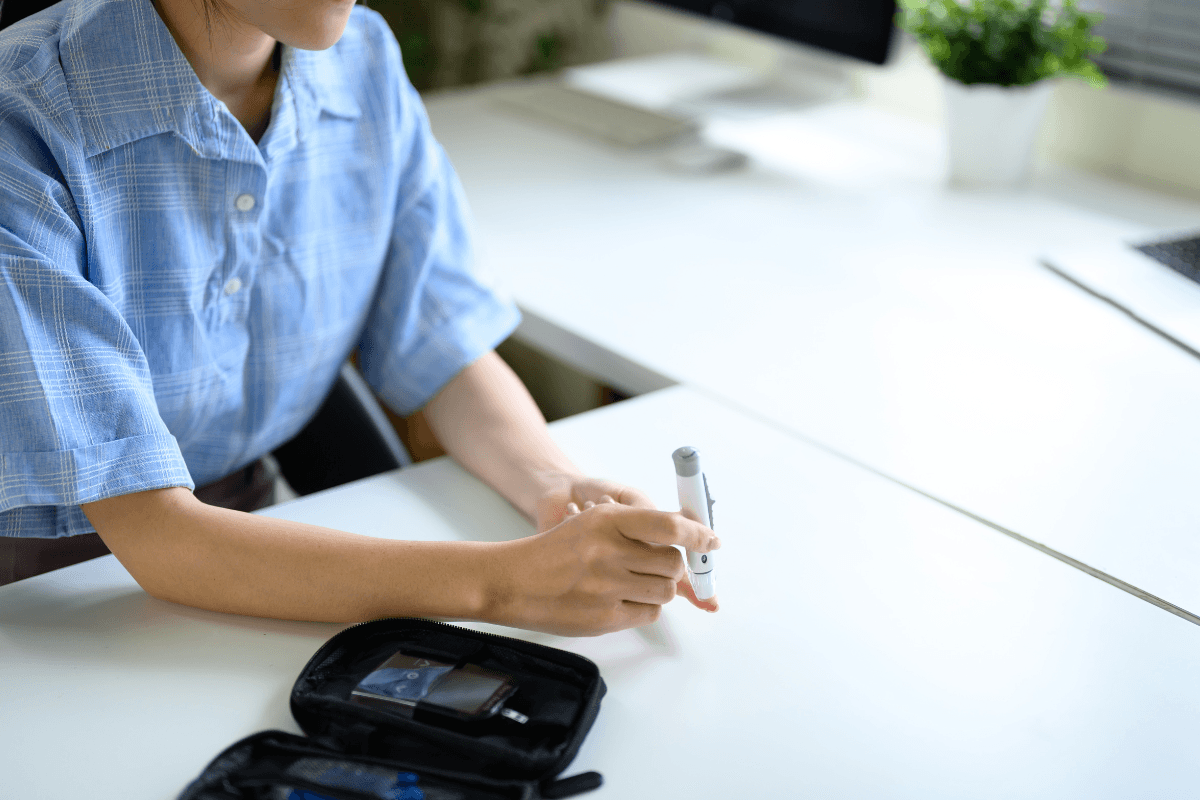
Take the Fingerstick
- Place the device against the side of your fingertip.
- Press the release button to make the puncture.
- Gently lower your hand or massage the finger until a round drop forms.
- Touch the blood drop to the test strip according to your meter instructions.
If your strip needs immediate sampling, have it ready before you lance. A round hanging drop is easier to apply than a smeared film. If the first attempt is too small, check hand warmth and depth before repeating the puncture.
Use the side of the finger rather than the center pad. The center usually has more nerve endings and can feel more tender. Avoid squeezing very hard. Firm pressure can make the sample messier and may mean you need to repeat the test.
Many people asking how to use OneTouch Delica Plus lancing device are also unsure about lancet fit. Use only lancets labeled as compatible with the device. Not every lancet works with every lancing system, and a poor fit can lead to misfires or awkward lancet removal. The meter instructions still matter too, because some meters need the strip inserted before the stick and others allow a short delay.
Prescription details may need confirmation with the prescriber when required.
What the Depth Numbers Mean
The numbers on the depth dial control how far the lancet travels. Lower numbers create a shallower stick. Higher numbers create a deeper stick. That is the main answer to what the numbers mean on OneTouch Delica Plus.
There is no single best number for every person. Skin thickness, hydration, temperature, calluses, and fingertip sensitivity all affect the right setting. In general, start with a lower setting that still gives an adequate drop. If you do not get enough blood, increase gradually rather than jumping to the deepest setting.
| Depth Setting | What It Means | When It May Help |
|---|---|---|
| Lower | Shallower puncture | Sensitive fingers or a first attempt |
| Middle | Moderate puncture depth | Routine daily testing for many users |
| Higher | Deeper puncture | Harder-to-sample or callused skin |
If you are wondering what number your lancet should be on, think in terms of results and comfort. The goal is the lowest setting that reliably produces enough blood for the strip. If a lower setting works, there is usually no reason to go deeper.
Depth needs can change from finger to finger and from one day to the next. A setting that worked yesterday may feel too deep on dry or irritated skin. Recheck your technique before assuming you always need a higher number.
Getting a Reliable Blood Drop With Less Discomfort
Good fingerstick technique often matters as much as the device itself. Warm hands usually produce better blood flow than cold hands. Letting your arm hang at your side for a few seconds can also help blood move into the fingertip.
Choose a different finger or a slightly different spot each time. Repeatedly using the same area can make the skin sore or tougher over time. If you need frequent checks, rotating fingers helps spread out irritation.
Quick tip: Start with warm, dry hands before changing the depth setting.
- Wet hands: water can interfere with the sample.
- Cold fingers: blood flow may be lower.
- Center fingertip: this area can feel more painful.
- Reused lancet: a dull tip may hurt more.
- Too much squeezing: the drop may be harder to handle.
If your readings seem hard to interpret, symptoms still matter. Review High Blood Sugar Symptoms and Hypoglycemic Shock Signs if a number does not match how you feel.
Changing, Ejecting, and Cleaning the Device
Each fingerstick should use a new lancet. After testing, remove the device cap and use the device’s eject feature if it has one. Place the used lancet into an approved sharps container. If your model does not eject automatically, remove the lancet carefully by following the labeled instructions and avoid touching the used tip.
Do not store the device with a used lancet inside. Do not share it with another person, even within the same household. A lancing device can carry blood exposure risk, and sharing is not considered safe.
Store the device in a clean, dry place. Keep extra lancets in their packaging until use. If several people in one home check blood sugar, each person should have a separate device and separately labeled supplies.
For cleaning, follow the manufacturer instructions for that model. In general, keep the exterior clean and dry between uses and do not use a cracked, loose, or visibly damaged device. If the cap no longer fits well or the release mechanism sticks, it may be time to replace the device rather than keep troubleshooting the same hardware.
Most questions about how to use OneTouch Delica Plus lancing device after setup are really about safe lancet removal. Slow down for this step. Safe disposal matters just as much as getting the blood drop in the first place.
When the Device Is Not Lancing Properly
If the device is not producing a fingerstick, the cause is often mechanical rather than clinical. Check the basics first: the lancet is seated correctly, the cap is attached, the depth is not set too low, and the device has been readied if required. A bent, dull, or incompatible lancet can also cause problems.
- Click with no sample: the depth may be too low or the finger too cold.
- No click: the device may not be readied, or the cap may be loose.
- Lancet will not eject: the lancet or cap may not be seated correctly.
- Unexpected pain: the lancet may be dull, reused, or set too deep.
If you hear a click but do not get blood, the issue may be the depth setting, finger position, or poor circulation in a cold finger. Warm your hands, use the side of the fingertip, and try a slightly higher setting only if needed. If the mechanism jams, the release button sticks, or the cap will not lock into place, stop using the device and review the official instructions.
Persistent severe pain, ongoing bleeding, redness, swelling, or drainage after fingersticks deserves medical attention. Those issues are not typical device quirks. They can point to skin injury or infection that needs proper assessment.
Where Fingerstick Testing Fits in Diabetes Monitoring
A lancing device helps you get a capillary blood sample. It does not explain why a reading is high or low on its own. The result becomes more useful when you match it to the time of day, recent food, physical activity, symptoms, and any medicines you use.
Keep any log simple: time, reading, food, activity, symptoms, and whether the sample was hard to obtain. That note can explain outlier results. It can also show when the problem is fingerstick technique rather than the glucose pattern itself.
For broader reading, browse Diabetes Articles. If your checks are part of managing treatment, keeping your technique the same makes trends easier to compare across discussions like Janumet Uses and Repaglinide Uses.
Meals can shape the pattern you see on the meter, especially before and after eating. The Food Insulin Index is one way to think about those changes. If you are comparing treatment types or supplies, the Diabetes Product Category works as a browseable hub rather than a single product page.
Dispensing may be handled by licensed third-party pharmacies where permitted.
Once you learn how to use OneTouch Delica Plus lancing device in a consistent way, the next step is not a deeper puncture. It is better pattern tracking. Write down the reading, the time, the symptoms, and any unusual factor that may explain the result.
Authoritative Sources
- Official OneTouch instructions for using the device
- MedlinePlus overview of blood glucose testing
- FDA guidance on safe sharps handling at home
Used correctly, a lancing device should feel predictable, not confusing. Start with clean, dry hands, a fresh compatible lancet, and the lowest depth that gives an adequate sample. If problems continue, use the manual for your specific device and bring the device to your next diabetes visit for hands-on review.
This content is for informational purposes only and is not a substitute for professional medical advice.
