
Key Takeaways
Contour Next Test Strips are single-use, in vitro diagnostic strips used with compatible glucose meters. Small details on the box and your technique can affect results.
- Match strip and meter models before testing.
- Check expiry, storage, and vial handling.
- Use control solution when results seem off.
- Know common causes of meter error messages.
- Separate glucose testing from ketone testing.
Overview
Blood glucose self-monitoring helps you and your care team see patterns. It can also catch unexpected highs or lows early. Test strips are the consumable part of that system. They contain a chemical layer that reacts with a drop of blood. The meter reads that reaction and displays a number, usually in mg/dL or mmol/L.
This article explains how test strips work, what “compatible” really means, and how to reduce avoidable errors. It also covers control solution checks, storage basics, and how glucose strips differ from ketone strips. If you want a broader primer on device types, see Glucose Monitors And Meters. For a strip-focused walkthrough, Diabetic Test Strips Use adds practical context.
CanadianInsulin acts as a prescription referral service, connecting you with dispensing pharmacies.
Core Concepts
What a Glucose Test Strip Measures
Most modern glucose strips use electrochemical sensing. In simple terms, blood meets enzymes on the strip. That reaction generates an electrical signal. The meter translates the signal into a glucose value. This is why strips are labeled “in vitro” (outside the body). They are designed to be used with capillary blood from a fingertip, or another approved site if your meter supports it.
Even when the meter is accurate, pre-analytic issues can shift results. “Pre-analytic” means what happens before the reading is calculated. Examples include residue on hands, too little blood, or letting blood smear on the strip edge. These factors are easy to miss because the number still appears on-screen. Technique and handling matter as much as the device.
Compatibility: Why Brand and Model Matching Is Not Optional
Test strips are not universal. Each strip family is designed to work with specific meters, using specific electrical ranges and algorithms. Using the wrong strip can produce an error message, or worse, a plausible-looking number that is not reliable. For people who rotate between devices, keep the meter name and strip name paired in the same storage spot.
If you use a Contour blood sugar meter, confirm the exact model on the meter face and on the strip carton. Model names can be similar across generations. If you are unsure where to start, the Contour Next Meter listing can help you identify the meter family name used on packaging. For background on the meter line naming, Bayer Contour Blood Glucose Meter explains how people may see older branding in the same ecosystem.
Coding, Calibration, and Accuracy Standards
Older glucose systems sometimes required manual “coding” when opening a new vial. Newer systems often reduce or eliminate this step, but you should not assume it is automatic. Follow the meter’s user guide for the exact procedure. A mismatch between meter settings and strip lot can affect readings, especially if the meter expects a different calibration curve.
Accuracy standards are typically discussed in terms of how close a meter’s reading is to a laboratory reference method under test conditions. Real-world performance still depends on user steps. If you want to understand what regulators expect for self-monitoring systems, a neutral overview appears in this FDA resource on blood glucose monitoring test systems.
Sample Quality: Hand Residue, Temperature, and Other Interferences
Many “bad strip” complaints are actually sample issues. Sugar-containing residue from food, lotions, or fruit can contaminate the fingertip. That can raise readings without any device failure. Cold hands can reduce blood flow and make it harder to get an adequate sample. Heat and humidity can also affect strip chemistry over time, especially if the vial is left open.
Some substances may interfere with specific strip chemistries. Interference varies by brand and generation, so it is best handled by the official instructions for use. If you take medications or supplements that could affect readings, bring the meter and strip box to your next appointment. Your clinician or pharmacist can help interpret the labeling notes without changing your treatment plan.
Why it matters: A realistic-looking number can still be wrong if the sample is contaminated.
Control Solution: What It Is and What It Can (and Can’t) Tell You
Control solution is a glucose-containing liquid used to check the strip-and-meter system. It is not a blood substitute for medical decisions. Instead, it helps confirm that strips, meter, and technique can produce a result within a stated control range. That range is printed on the strip vial or carton for that lot.
People most often use control solution when opening a new vial, after dropping the meter, after unusual storage conditions, or when results do not match symptoms. It can also help separate “strip problem” from “sample problem.” If the control result is out of range, stop and review the user guide steps. Common causes include using the wrong solution, an expired solution, or applying too much liquid.
Glucose Testing vs Ketone Testing
Glucose strips measure blood sugar. Ketone strips measure ketones, which are different molecules produced when the body uses fat for energy. Ketone testing may be recommended in certain situations by a clinician, but the supplies and meters are not interchangeable. A “ketone meter” and “ketone test strips” are separate tools from a glucose system, even if the devices look similar.
If you see terms like “Contour ketone meter” or “Contour ketone strips,” treat them as a different category. Do not try to use ketone strips in a glucose meter, or the reverse. If you need to track both, label your kits clearly and store them separately to reduce mix-ups.
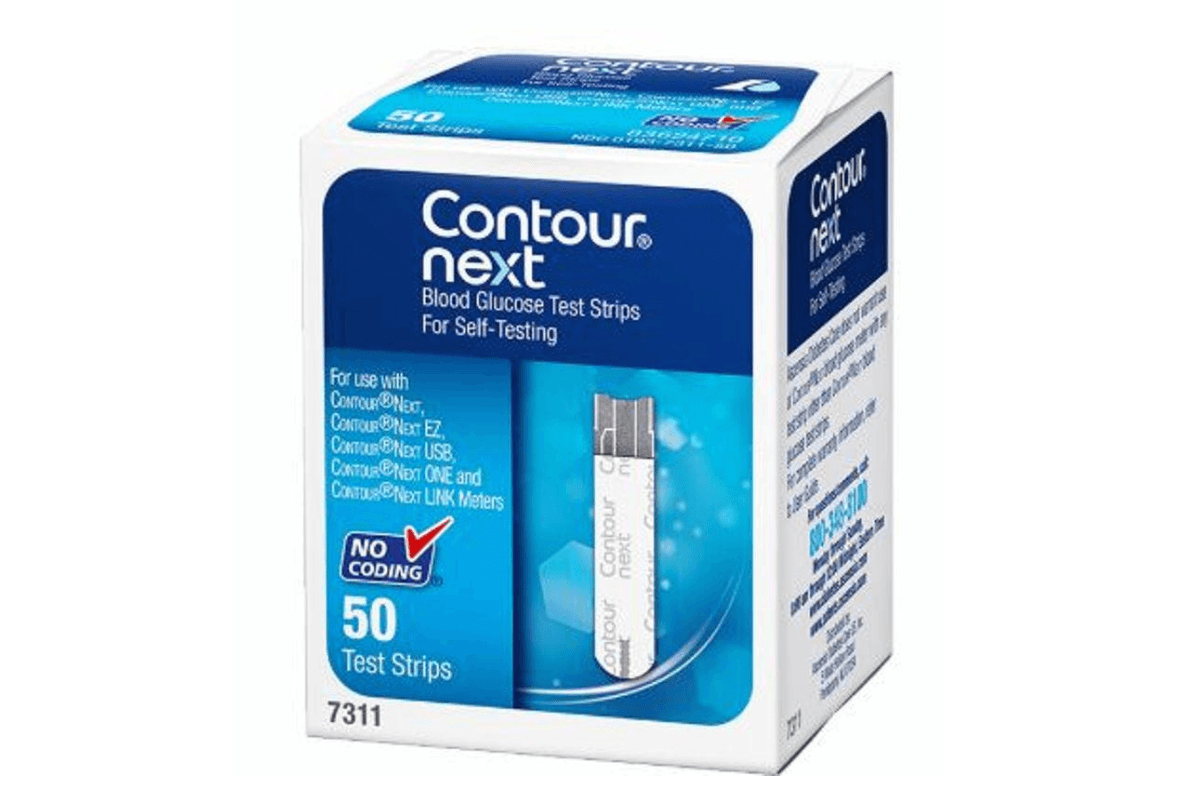
Contour Next Test Strips: Compatibility and Handling
People often search for “strips for Contour Next EZ” because the name is close to other devices. The safest approach is simple: match the meter family name, not just “Contour” on its own. Look for the full meter name on the front of the device. Then compare it to the strip carton’s compatibility language. If you keep more than one meter in the home, write the meter name on the strip vial with a marker.
Packaging can also create confusion. Some people refer to “Contour blood glucose strips,” others say “Contour strips,” and some remember “Bayer Contour” branding. Those phrases can point to different generations. When you want a clear reference point, compare the meter you use to the images and naming on Contour Next EZ Meter and the educational summary in Simplify Blood Sugar Checks With Contour Next EZ Meter. If you are reviewing supplies with a caregiver, use the exact product name printed on the box, not a nickname.
Vial handling is another avoidable source of errors. Close the cap promptly after removing a strip. Store strips in their original container. Avoid transferring strips into pill organizers or loose bags, where humidity and friction can damage the strip tips. If a strip looks bent, discolored, or has a damaged contact end, discard it and use a new one.
Practical Guidance
For day-to-day use, focus on repeatable steps and clear labeling. The goal is to reduce variability, not to chase a perfect number. If you are learning how to check sugar level at home, the step-by-step visuals in How To Check Sugar Level At Home can reinforce the basics without adding complexity.
Before you test, confirm three things: your meter is the one you expect, the vial is within expiry, and the strip container was stored properly. Then prepare the lancing setup, since delays can dry the sample. If you are new to fingersticks, What Is A Lancing Device explains the parts and the main safety considerations. Many people pair compatible lancets with their device, such as Microlet Lancets, but the correct match depends on your lancing device model.
| What to check | Where to find it | Why it helps |
|---|---|---|
| Meter model name | Front or back of meter | Prevents strip mismatch |
| Strip expiry date | Carton and vial label | Reduces chemical drift risk |
| Control range | Strip vial or carton | Supports troubleshooting |
| Vial cap closure | After each strip removal | Limits humidity exposure |
During testing, follow the meter prompts and apply blood as instructed. Avoid “topping off” a strip with extra blood unless the instructions explicitly allow it. If you see repeated error codes, write them down with the date, strip lot number, and what you observed. That record makes support and clinical conversations more efficient. When you use Contour Next Test Strips, keep the carton until the vial is finished so you still have the lot details if issues arise.
Quick tip: Keep one unopened vial as a backup for troubleshooting.
When required, the team confirms prescription details with your prescriber before processing.
If access is a concern, some people use cash-pay options when they are without insurance. For non-medication supplies, you can still benefit from organizing refill schedules and avoiding last-minute substitutions that risk compatibility problems. For a broader look at everyday care items, the General Care category is a useful hub for comparing types of supplies.
Compare & Related Topics
Glucose systems are “ecosystems.” The meter, strips, lancing method, and reporting tools all influence your experience. Comparing brands often comes down to meter features, strip availability through your usual channels, and how you prefer to view results. If you want a structured way to compare options, What Makes The Best Glucometer For You outlines practical criteria to discuss with a clinician.
It can also help to understand the naming conventions across brands. For example, OneTouch uses Verio-branded meters and OneTouch Verio Test Strips, while other ecosystems use different strip shapes and contact designs. Switching systems may require learning new prompts and error codes. If you are comparing after a pharmacy substitution, re-check compatibility before you test. Contour Next Test Strips should only be paired with meters listed as compatible on the carton or meter labeling.
Related topic: some people look for “Contour test solution” to validate performance, while others need education on fingerstick technique. Those are different problems with different fixes. If you consistently see results that do not match how you feel, consider documenting patterns and bringing them to your next visit. That keeps the discussion anchored in data, not single readings.
Authoritative Sources
If you want to go beyond quick tips, rely on primary sources. These references help you interpret what “in vitro” means, what performance standards look like, and how to use results safely in context. When you are reviewing Contour Next Test Strips, the most reliable details will always be the instructions for use that come with the meter and strip carton.
- Neutral regulatory overview from the U.S. FDA on blood glucose monitoring systems.
- General education from Diabetes Canada on living with diabetes and monitoring.
Eligible prescriptions are dispensed by licensed Canadian pharmacies, based on your documentation.
Recap: accurate home glucose checks depend on the right strip-and-meter match, careful storage, and consistent technique. Keep packaging for lot and control-range details, and use control solution when readings do not make sense. If you need deeper device guidance, start with your meter’s user guide and bring your supplies to appointments for hands-on review.
This content is for informational purposes only and is not a substitute for professional medical advice.
________________________________________________________________________________________
Medically Reviewed by: Ma Lalaine Cheng.,MD.,MPH

