
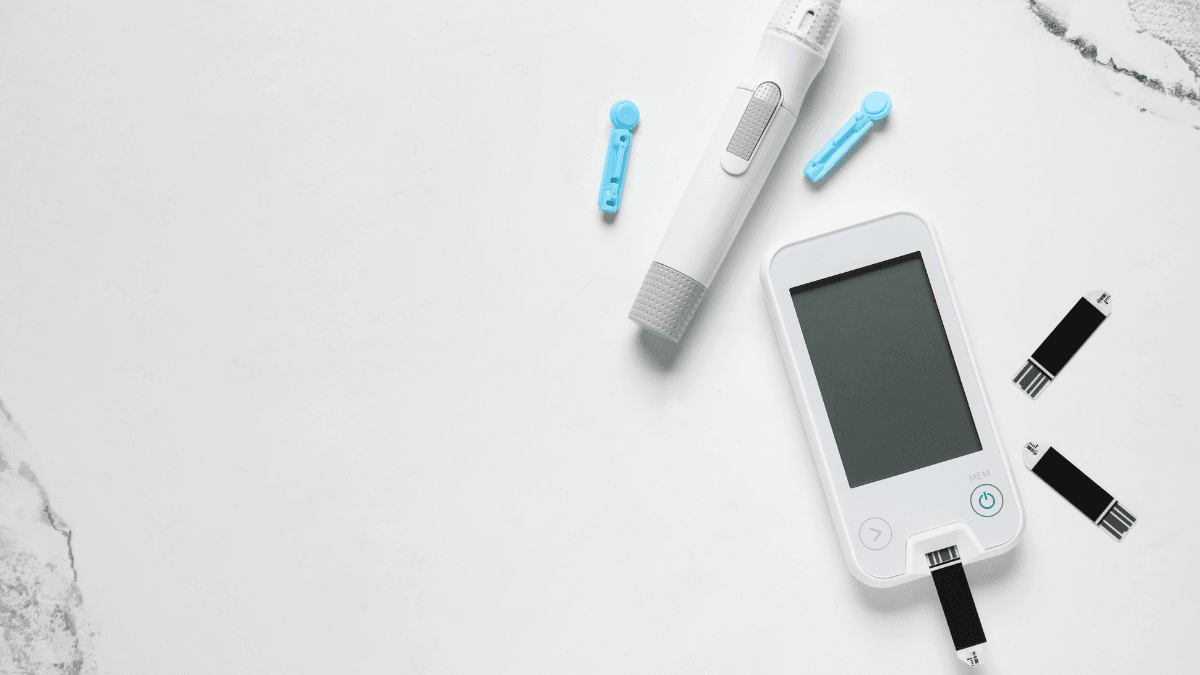
Lancets are small sterile needles used to prick the skin for a drop of capillary blood, most often during a fingerstick blood sugar check. They matter because the right lancet and lancing device can make testing easier, while poor technique, reuse, or sharing can increase pain, skin irritation, and infection risk.
Key Takeaways
- A lancet is a single-use needle for capillary blood sampling.
- The lancet, lancing device, test strip, and meter must fit the intended system.
- Higher gauge numbers usually mean thinner needles, but comfort varies.
- Use a new sterile lancet for each fingerstick when possible.
- Never share a lancet or lancing device, even with family members.
What Lancets Do in Blood Sugar Testing
Lancets create a tiny skin puncture so a blood glucose meter can read a blood sample on a compatible test strip. People with diabetes may use fingerstick testing alone, with a continuous glucose monitor, or only at certain times set by their care plan.
The lancet meaning is simple: it is the skin-pricking part of the testing setup. It is not the same as a glucose test strip, a meter, or an insulin pen needle. A pen needle delivers insulin into tissue. A blood lancet needle only helps collect a small blood sample.
The main parts of a fingerstick setup work together:
- Lancet needle: punctures skin to obtain the blood drop.
- Lancing device: holds and releases the lancet at a set depth.
- Test strip: receives the blood sample for meter reading.
- Glucose meter: displays the blood glucose result.
- CGM sensor: estimates glucose in interstitial fluid, not direct blood.
Fingerstick timing differs by person. Some people check before meals, after meals, at bedtime, before driving, during illness, or when symptoms do not match a sensor reading. For broader context on testing frequency, see Blood Sugar Monitoring.
If your readings use different units, a simple converter can help you compare mg/dL and mmol/L values during record review. It does not interpret your result or replace clinical guidance.
Blood Glucose Unit Converter
Convert glucose readings between mg/dL and mmol/L without changing the clinical value.
These calculations are for education only and do not replace clinical advice, diagnosis, or treatment. Always confirm medical decisions with a qualified healthcare professional.
Choosing a Lancet Needle and Lancing Device
The best lancets are the ones that match your device, produce an adequate sample, and cause the least reasonable discomfort. There is no single best finger pricker for diabetes because skin thickness, calluses, dexterity, vision, and hand sensitivity vary.
Gauge is one common feature. A higher gauge number usually means a thinner lancet needle. Thinner needles may feel more comfortable for some people, but they may not always produce enough blood if the depth is too shallow or circulation is poor.
Depth settings also matter. Many lancing devices let you adjust how far the needle enters the skin. A lower setting may work for softer skin. Thicker or callused skin may need a higher setting, but repeated deep punctures can increase soreness.
Compatibility is essential. Not every lancet fits every lancing device. Some systems use drums, cartridges, or brand-specific designs. Others accept standard twist-top lancets. Always check the device instructions before switching supplies.
Examples of device-specific or commonly paired supplies include Accu-Chek Softclix Lancets, Accu-Chek FastClix Lancets, Microlet Lancets, and OneTouch UltraSoft Lancets. These examples are useful for comparison, but the correct choice depends on your lancing device instructions.
Quick tip: Keep the lancing device manual with your meter supplies.
How to Use Lancets With Less Skin Trauma
How to use lancets safely starts with clean hands, a new sterile needle, and a controlled puncture on the side of the fingertip. The goal is a usable drop without repeated stabbing or forceful squeezing.
- Wash hands with soap and warm water, then dry them fully.
- Load a new sterile lancet into the lancing device.
- Choose the depth setting recommended in the device instructions.
- Use the side of a fingertip instead of the central pad.
- Press the device flat against the skin before releasing it.
- Let a blood drop form without squeezing hard.
- Apply the drop to the compatible strip as instructed.
- Remove the used lancet and place it in a sharps container.
Warm water can improve blood flow before testing. Gently lowering the hand or massaging toward the fingertip may also help. Avoid strong milking of the finger. Heavy pressure can increase soreness and may affect the sample.
Some instructions recommend wiping away the first drop of blood. This may apply when food residue, lotion, alcohol, or other contamination is present. Other instructions allow the first drop after thorough handwashing and drying. Follow your meter instructions and your care team’s advice.
If you use alcohol to clean the skin, let it dry completely before pricking. Wet alcohol can sting. It may also interfere with a small sample. At home, soap and water are often preferred when available, especially after meals or snacks.
Alternate-site testing, such as the palm or forearm, may be allowed with some meters. However, glucose changes can appear more slowly at these sites than in fingertip blood. A fingertip check is often preferred when glucose may be changing quickly, symptoms are present, or a sensor reading seems inconsistent.
Lancets, Test Strips, and Meters Are Not Interchangeable
Lancets and strips have different jobs, so they should not be confused. The lancet makes the puncture. The strip collects the sample. The meter reads the strip and displays the result.
This difference matters when replacing supplies. A meter such as the Contour Next EZ Meter usually requires strips made for that meter family. The lancing device may be packaged with the meter, but lancet compatibility still depends on the device design.
For more detail on strip matching, storage, and practical use, see Contour Next Test Strips. If any part of the setup is mismatched, expired, damaged, or used incorrectly, the result may be harder to trust.
Continuous glucose monitors can reduce routine fingersticks for some people, but they do not remove every need for a meter. Fingerstick checks may still be useful when symptoms do not match the sensor, when a device requests confirmation, or when a clinician recommends checking. For related device context, review Continuous Glucose Monitoring.
Safety Rules for Home Fingersticks
Lancets safety depends on single-person use, clean technique, and safe disposal. Fingerstick equipment can carry tiny amounts of blood even when it looks clean, so sharing creates an avoidable infection risk.
Do not share lancets, lancing devices, or visibly blood-contaminated testing supplies. This rule applies in households, care facilities, and shared living settings. A lancing device should be treated as personal equipment.
Use a new sterile lancet for each fingerstick when possible. Reusing your own lancet can make the tip duller. A dull needle may hurt more and can contribute to bruising, soreness, or skin irritation.
Place used lancets directly into a puncture-resistant sharps container. Do not place loose needles in household trash, recycling, purses, pockets, or bedside drawers. If you do not have a commercial sharps container, ask a pharmacist or local health authority about disposal rules in your area.
Avoid puncturing skin with swelling, rash, infection, numbness, poor circulation, or open wounds. Rotate fingers and avoid using the same sore spot repeatedly. If fingerpads become callused, tender, or bruised, review your depth setting and technique before continuing the same pattern.
Lancet needles should not be used for pimples, splinters, or skin picking. They are designed for blood sampling, not acne care or minor procedures. Using them on inflamed skin can introduce bacteria and worsen irritation.
Why it matters: Safe disposal protects family members, caregivers, sanitation workers, and pets from needle injuries.
When to Adjust Technique or Ask for Help
Fingerstick testing should not cause ongoing injury. Ask for help if you often need several punctures for one sample, bleeding is hard to stop, or your fingers remain painful after testing.
A diabetes educator, pharmacist, or clinician may suggest reviewing handwashing, depth setting, site rotation, or device fit. People with tremor, arthritis, low vision, or fear of needles may need a device that is easier to load and handle.
Contact a clinician promptly if you notice spreading redness, warmth, pus, fever, increasing swelling, or severe pain at a puncture site. These can be signs of infection. People with reduced sensation, circulation problems, or immune compromise should be especially cautious about skin injuries.
Glucose numbers also need context. A single reading may reflect food, exercise, stress, medication timing, illness, or testing technique. The Blood Sugar Range Chart explains common units and how ranges are often discussed, but personal targets may differ.
Low readings need extra caution, especially for people using insulin or medicines that can cause hypoglycemia. Symptoms may include shakiness, sweating, confusion, fast heartbeat, or weakness. Review practical safety steps in Low Blood Sugar Symptoms, and seek urgent help for fainting, seizures, severe confusion, or inability to safely take fast-acting carbohydrate.
Finding Related Diabetes Supplies and Information
People comparing lancets for diabetes often need nearby supplies, such as meters, strips, and sharps containers. Product pages can help confirm package details, but device instructions remain the main source for compatibility.
You can browse a broader Diabetes Supplies collection for navigation, or visit the Diabetes condition collection for related product categories. CanadianInsulin.com uses a prescription referral model where required; licensed third-party pharmacies handle dispensing and fulfilment where permitted.
Authoritative Sources
- CDC guidance on injection safety — general principles for preventing blood exposure and unsafe needle use.
- FDA guidance on sharps containers — safe disposal of needles and other household sharps.
- American Diabetes Association blood sugar guidance — patient information on checking glucose and using results.
A safe fingerstick routine is simple and repeatable. Choose supplies that match your device, use a sterile lancet, avoid sharing equipment, dispose of sharps correctly, and ask for help if testing becomes painful or unreliable.
This content is for informational purposes only and is not a substitute for professional medical advice.