
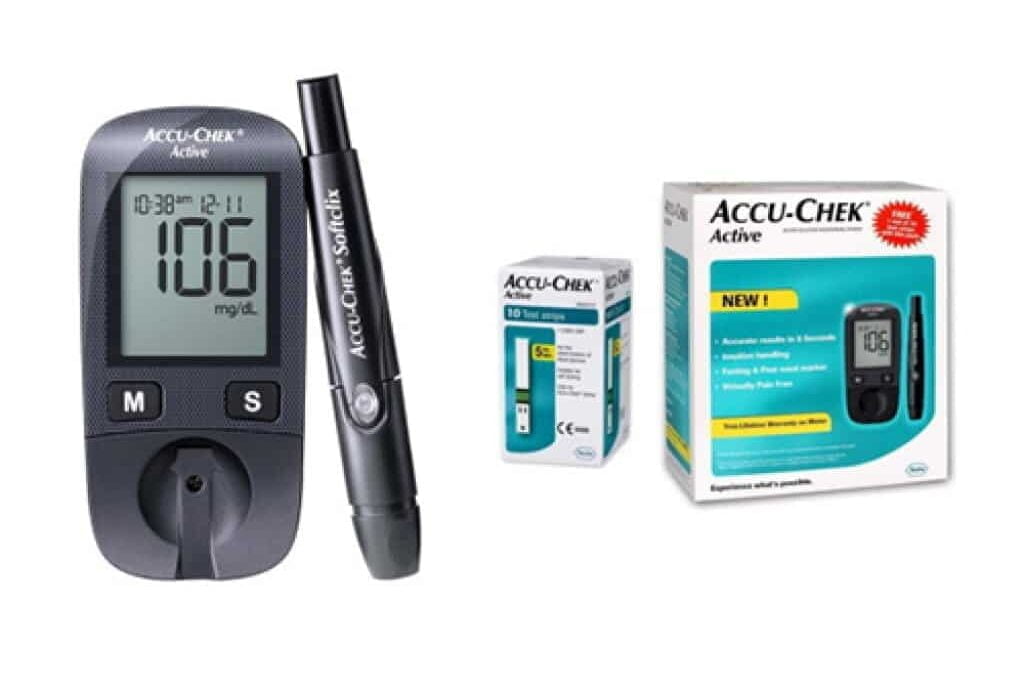
The Accu-Chek Guide is a fingerstick blood glucose meter designed for everyday self-monitoring. Its main benefits are a backlit display, strip port light, spill-resistant strip vial, Bluetooth logging, and wide-edge test strips that can make routine checks easier. This Accu Chek Basics: Accu-Chek Guide Features article explains what comes in the system, how setup works, and how to reduce common testing errors.
Key Takeaways
- Core features: Backlit screen, strip port light, and spill-resistant strip vial.
- Setup basics: Set date, time, sound, and app pairing before relying on logs.
- Strip handling: Use only compatible strips and keep the vial tightly closed.
- Accuracy checks: Use control solution after drops, heat exposure, or unusual results.
- Data review: Bluetooth syncing can simplify logs for appointments.
What the Accu-Chek Guide System Includes
A typical Accu-Chek Guide meter kit includes the meter, a lancing device, lancets, test strips, batteries, and a carrying case. Exact kit contents can vary by retailer, region, and package type, so check the box label and instructions before first use. The meter is meant for capillary blood testing, usually from the fingertip, unless your manual describes another approved site.
The Accu-Chek Guide meter uses Accu-Chek Guide test strips. These strips have a wide dosing edge, which means the blood sample can be applied along the strip edge rather than at one tiny point. The strip vial is designed to help hold strips in place, which can reduce spills and accidental waste during daily use.
Lighting is another practical feature. The backlit display helps you read numbers in dim rooms, while the strip port light helps guide strip insertion and sample application. This matters most during nighttime checks, travel, or testing in a car or low-light setting.
For a broader look at fingerstick devices and where this model fits, see Glucose Monitors and Meters. If you are comparing supplies across diabetes devices, the Diabetes Products collection can also help you identify related categories.
Accu-Chek Guide Setup: The First Settings to Check
Accu-Chek Guide setup starts with the basics: battery power, date, time, sound, and strip readiness. These settings affect how results appear in memory and how useful your log will be later. If the date or time is wrong, your glucose history may be harder to interpret with your care team.
Start by reading the meter instructions that came with your device. Insert the battery if needed, turn the meter on, and follow the prompts. Confirm the date format, time format, sound alerts, and any target range display options described in your manual. These are not treatment targets by themselves; they are display settings that should match your clinical plan.
Before the first routine test, inspect the strip vial. Confirm that the strips match the meter name, the vial is closed, and the expiration date has not passed. Avoid using strips that look bent, wet, discoloured, or exposed to heat. If the meter or strips were stored in a very hot or cold place, let them return to room temperature before testing, following the manufacturer’s temperature guidance.
Quick tip: Label the meter case if more than one person in your home uses glucose supplies.
How to Use the Meter for a Fingerstick Test
Using the Accu-Chek Guide meter usually follows the same sequence as other fingerstick meters: prepare your hands, insert a strip, lance the fingertip, apply blood, and read the result. The goal is a clean sample and a complete strip fill. Small handling errors can affect a reading or trigger an error message.
- Wash your hands with soap and warm water, then dry them fully.
- Insert a compatible strip with the contact end facing the meter.
- Use the lancing device on the side of a fingertip.
- Touch the blood drop to the strip edge until the meter accepts the sample.
- Wait for the result, then record any relevant note, such as exercise or illness.
- Dispose of the used lancet and strip according to local sharps and waste rules.
Some instructions recommend wiping away the first drop of blood in certain situations. The reason is simple: the first drop may be affected by soap residue, food, lotion, or tissue fluid if you squeezed the finger hard. If your hands are clean and dry, follow your meter manual and your clinician’s advice. If a result does not match how you feel, retest with a fresh strip and seek medical guidance when symptoms are concerning.
Lancet technique also affects comfort. A fresh lancet, proper depth setting, and side-of-finger placement may reduce soreness. For more detail on needle selection and safe handling, read Lancets for Blood Sugar Testing. Compatible lancing supplies vary by device, so check model names before choosing items such as Accu-Chek Softclix Lancets or Accu-Chek FastClix Lancets.
When to Test and How to Read the Numbers
The best time to test blood sugar depends on your treatment plan, meals, activity, and risk of low blood glucose. Common testing times include fasting, before meals, after meals, at bedtime, before driving, or when symptoms occur. People using insulin or medicines that can cause hypoglycemia (low blood glucose) may need different timing than people managing diabetes without those medicines.
Do not change medication doses based only on general internet guidance. Instead, ask your clinician which testing times matter for your situation and what readings should prompt follow-up. Bring meter logs to visits, especially if readings are repeatedly outside your agreed range.
Some readers compare glucose units across countries or clinic records. This converter can help translate blood glucose values between mg/dL and mmol/L for general understanding; it does not interpret results or replace clinical advice.
Blood Glucose Unit Converter
Convert glucose readings between mg/dL and mmol/L without changing the clinical value.
These calculations are for education only and do not replace clinical advice, diagnosis, or treatment. Always confirm medical decisions with a qualified healthcare professional.
Fingerstick readings show a point in time. They are different from A1C, which reflects average glucose exposure over roughly several months. They also differ from continuous glucose monitoring data, which can show trends and time in range. For routine planning, How Often Should You Monitor Blood Sugar explains common monitoring factors to discuss with a care team.
Bluetooth, App Syncing, and Data Notes
Accu-Chek Guide Bluetooth connectivity can send readings to a compatible diabetes management app, such as the mySugr app, when supported in your region and device version. Pairing usually requires Bluetooth to be active on the meter and phone. You may also need to confirm a code so the correct devices connect.
App syncing can reduce manual entry and help organize readings by time of day. Some apps allow tags for meals, exercise, medication, or symptoms. These notes can make a log more useful during appointments because they add context to the number.
Still, app data is only as accurate as the setup. Confirm the meter date and time before pairing. If your phone changes time zones, review whether the app and meter remain aligned. Keep written notes if the app fails to sync, the phone is unavailable, or you are troubleshooting a connection problem.
Why it matters: A well-timed reading with context is often more useful than an isolated number.
Test Strips, Control Solution, and Accuracy Checks
Accu-Chek Guide accuracy depends on correct strip handling, clean sampling, proper storage, and routine checks when something seems wrong. Keep strips in their original vial with the cap closed. Avoid bathrooms, cars, windowsills, and other places with heat or humidity. Do not mix strips from different vials or use strips made for another meter family.
Control solution is used to check whether the meter and strips are working together within an expected range. It is not a blood glucose result. Use it when your instructions recommend it, such as after a meter drop, suspected strip damage, unusual storage conditions, or readings that do not fit symptoms. Compare the control result with the acceptable range printed on the strip vial or instructions.
Accuracy standards for home glucose meters allow some variation from laboratory values. That is why technique matters. Wash and dry hands, use enough blood, avoid squeezing aggressively, and repeat a test if an error message appears. If repeated readings do not match symptoms, contact a healthcare professional or seek urgent care for severe symptoms such as confusion, fainting, chest pain, or signs of very low or very high blood glucose.
For background on how other meters present readings and features, see OneTouch Verio Flex Meter or FreeStyle Freedom Lite Meter. These comparisons can help you think about display style, memory, and portability without assuming one device is right for everyone.
Accu-Chek Guide vs Guide Me and Other Meter Families
The Accu-Chek Guide and Guide Me models are closely related, but they may differ in screen design, menu style, feature level, and regional availability. Both are commonly discussed with Guide test strips, but you should confirm compatibility using the exact meter name and strip label. Do not rely on brand family alone.
Legacy Accu-Chek meters may use different strips. For example, Accu-Chek Aviva supplies are not the same as Guide strips. If you still use an older meter, check the front of the device, the strip vial name, and your manual before restocking. The Accu-Chek Aviva Test Strips page can help identify that separate product family.
When comparing meters, focus on practical factors rather than brand familiarity alone. Consider screen readability, strip handling, sample size requirements, memory, app syncing, lancing device preference, and whether replacement supplies are easy to identify. If you are browsing glucose meter options, devices such as the Contour Next EZ Meter and OneTouch Verio Flex Meter show how features can vary across meter lines.
Troubleshooting Common Problems
Most Accu-Chek Guide troubleshooting starts with the strip, sample, battery, and meter port. If an error appears, remove the strip and review the message in the manual. Use a new strip for repeat testing. A used strip cannot be reused, even if the first sample was too small.
- Small sample: Rewash hands, warm the finger, and use a fresh lancet.
- Strip error: Check expiration, vial storage, and strip orientation.
- Odd result: Repeat with clean hands and consider control solution.
- Dim display: Replace the battery type listed in your manual.
- Sync failure: Confirm Bluetooth, device pairing, and app permissions.
If the meter was dropped, exposed to liquid, or stored outside the recommended temperature range, run a control solution check before relying on results. If problems continue, contact the manufacturer’s support line or your diabetes care team. Keep backup supplies available when travelling, especially if testing is part of medication safety planning.
Storage, Travel, and Record-Keeping Habits
Good storage protects the meter, strips, and lancets. Keep supplies in a clean case away from direct sun, moisture, and extreme temperatures. Do not refrigerate strips unless the product instructions specifically allow it. Store batteries away from children and replace them according to the meter instructions.
Travel adds a few extra considerations. Pack more strips and lancets than you expect to use, keep supplies in carry-on luggage when flying, and protect the meter from heat in parked cars. If you use insulin or other temperature-sensitive products, review storage guidance separately because meters and medications may have different limits.
Logs are most helpful when they include context. Add short notes for illness, missed meals, unusual exercise, stress, alcohol, or symptoms. These details can help explain patterns and guide safer conversations with your care team. You can also browse the Diabetes Articles section for related education on monitoring routines and diabetes supplies.
Authoritative Sources
For product-specific instructions, feature details, and support documents, review the official Accu-Chek Guide meter information before first use.
For broader diabetes monitoring and glucose target discussions, the American Diabetes Association blood glucose guidance offers patient-focused education.
For meter performance and regulatory background, the FDA blood glucose monitoring device page provides device category context.
Recap
The Accu-Chek Guide system is built around practical daily testing features: a lit display, strip port light, wide-edge strips, spill-resistant strip storage, and optional Bluetooth logging. Its usefulness depends on correct setup, clean sampling, proper strip storage, and control checks when results seem unexpected. Confirm supply compatibility before replacing strips, lancets, or batteries, and review your logs with a qualified clinician when readings affect treatment decisions.
This content is for informational purposes only and is not a substitute for professional medical advice.
